Deprecated: Hook wp_smush_should_skip_parse is deprecated since version 3.16.1! Use wp_smush_should_skip_lazy_load instead. in /var/www/wp-includes/functions.php on line 6078

Deprecated: Hook wp_smush_should_skip_parse is deprecated since version 3.16.1! Use wp_smush_should_skip_lazy_load instead. in /var/www/wp-includes/functions.php on line 6078
✨ [ New Effect ] | Creating Glassmorphism with images in PowerPoint | By Learn With Tridib © ✨

✨ [ New Effect ] | Creating Glassmorphism with images in PowerPoint | By Learn With Tridib © ✨

Hey guys this is Tridib and you are watching a brand new episode of Learn with Tridib. Glassmorphism is in vogue and everyone is doing at least one video in PowerPoint that teaches glassmorphism. Glassmorphism as the name suggests overlays a blurred or frosted glass-like layer on top of an actual layer in such a way that the area behind the glass looks frosted and outside the glass looks real just like this example.

Let’s deep dive and see how we can create such an amazing layout in PowerPoint. But before we deep dive kindly like, share, and comment on this video and if you are new to this channel kindly subscribe to the channel and hit the bell icon so that you can get all our notifications of our upcoming updates.

So without much ado let’s get started.

In this video, if you see that there is one screen that is the number one slide and then there is another slide which is number two. Why I have done these two things let’s see just go to the slide number one and we hit the play button and see how the glass enters the screen very slowly and if you see now the areas behind this glass are all blurred but the other area which is not touched by this glass body is actually in the normal space or in the normal color tone and normal brightness. Let us see another thing that if I now select this entire thing and I move this thing over this ladybird see the ladybird is clear where it is not being superimposed by this glass body but where it is superimposed by the glass body it is blurred in shape right see how it happens even if we move this towards this water droplets see the rock water droplets are totally blurred and even if  I am moving it around wherever even the same thing that the stem structure that is on the leaf that is we can see it is also blurred where the particular rectangular box overlays. Okay so let’s see how we do it okay so first thing first let me create a blank screen, okay I will for the sake of this example I will just copy this image and I will paste it into this particular screen perfect okay we just discard all the design ideas that PowerPoint gives us we will right-click at this point of time in this empty area and we’ll go to the format background if it is already not on but for us, it is already on so now what we have to do very cleverly we have to put a background picture of this slide so I click on this background picture and what we will do will insert a picture right now if you see the default picture is there and we have to replace this particular picture what we will do we are very intelligent right so we will put we will change this image to the blurry version of this particular image so what we will do since the background is slide background is already there.

We will put insert browse from file and I have already created a blurred image of this particular scene I will just show you this is the blurred version of the entire image I will insert it so if you see the blurred version is just behind the actual crisp and crystal clear image right so this is the blurred version perfect now we will just create go to the home screen drag a curved rectangle. And we will minimize this particular curvature from the corners.

Looks great simple. Now, one thing we have to do. We have to go to this fill and we have to select the slide background fill.

Wow! we are already done we have to first do this thing we have to click and select no line for the time being because we have to change this line border to a gradient line which I will show you see now if I move this thing anywhere it automatically blurs itself okay great right now to give the entire look and feel like a real glass body which also has some level of thickness we have to definitely add a gradient line we’ll not use a solid line we’ll use a gradient line okay now see if I show you this gradient line is extremely hard on the image so what we will do I will just delete all the lines over here okay I will click on this one and I will select the top part of this thing with an eyedropper tool.

Also, the lower part I will again select from the eyedropper tool let me select something in a lighter sheet see the thing is already there if you want you can also if you want to make it a little brighter you can select a lighter shade of green and you have to now play with the transparency. I generally take it to the 50 so it is a very thin line that I can see over there and brightness I will reduce a bit yeah now you can see the thickness can be seen very nice okay so that is done now let me just i will not bore you to death by writing too much content i will just copy this thing and paste it over to this paste it paste it in this particular slide lovely okay now i will copy this slide again ctrl c ctrl v see it has become again white because in this particular screen you don’t have the blur background so again format background picture insert from file and select the blur image okay now in the first slide that is the third number slide I will take this entire thing and move it outside the screen and we know PowerPoint has given us a fantastic tool called the morph transition so i will click on transition and say morph to these two slides okay so now see what happens the third number slide i select this third number slide and i press the slideshow i click and this glass enters the screen so nice right it looks exactly like a glass and you can do a lot of stuffs over here you can hide certain part of the thing you can put leaves over here and so on and so forth so say for example if i really want to add some other materials over here say for example another ladybird over here i can do that as well but this is the long and short story of it it is that easy creating a glassmorphism in PowerPoint is that very easy so i have not used the same pink and blue gradient where people have used the same gradient setting copied each other’s post and have done multiple times the same particular plasmorphism i wanted to show you something different where images are involved what he will do if there are images so this is the right way of using glass morphism using images and it is totally up to you if you want to have some shine over here you can do it in a different layer altogether.

So that’s all folks! Hope you have liked this video if you have really liked this video and found that it is absolutely stunning and very important for your next presentations please feel free to like, share, and comment on this video and if you are new to this channel kindly subscribe to the channel and hit the bell icon so that you can get all our notifications of our upcoming updates. Till we meet again with a fantastic new video goodbye and god bless.

Share this:
Convert Your Dull Videos to Film Quality Videos with Color Grading in Adobe Premiere [NEW TECHNIQUE]

Convert Your Dull Videos to Film Quality Videos with Color Grading in Adobe Premiere [NEW TECHNIQUE]

Hi guys, this is Tridib and you are watching a brand new episode of Learn with Tridib.

In the last few weeks, many of my subscribers actually shared their problem of achieving very dull or pale-colored videos using either DSLR or mobiles and requested me if I can help them make their videos better. Well, let me be extremely clear from the beginning that a badly shot video cannot be made better. Period. However, the dullness or paleness of the video can definitely be made better by an easy and awesome technique called Color Grading. In this video, I will use Adobe Premiere to show you how to use Color Grading techniques to bring life to your mundane videos.

But before we deep dive kindly like, share, and comment on the video if you find it important and you are going to use this technique in your future videos. And if you are new to this channel kindly subscribe to the channel and hit the bell icon so to get notifications of all our upcoming updates.
So without much ado let’s get started.

Share this:
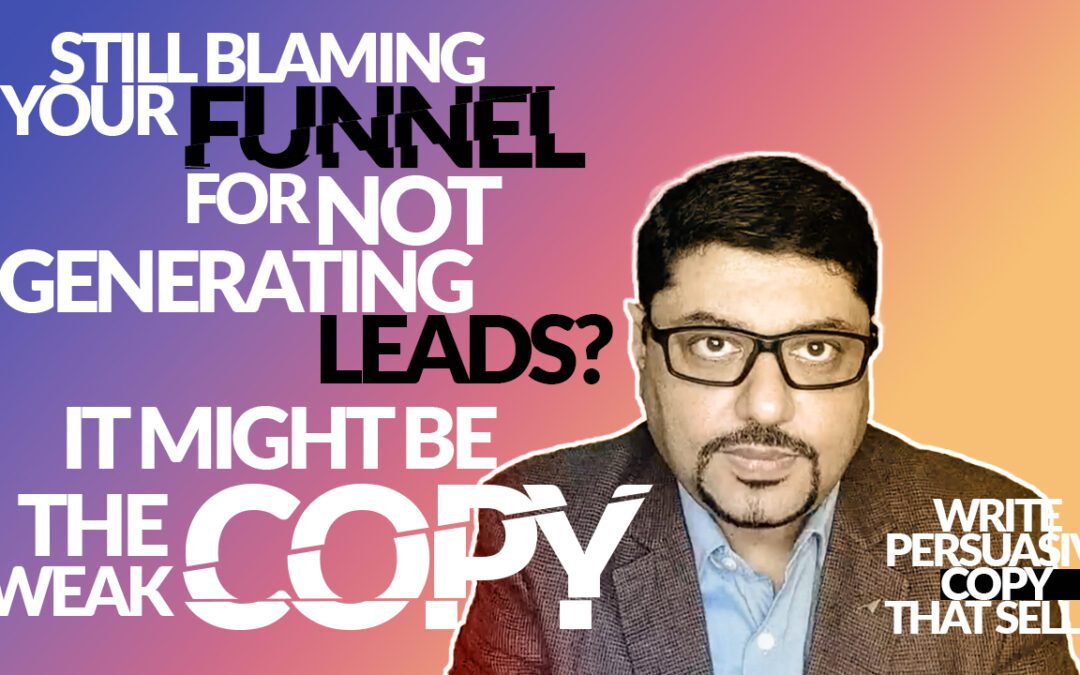
Learn To Write a Persuasive Copy That Sells | Super Magnetic Sales Copy That Converts – YouTube

Learn To Write a Persuasive Copy That Sells | Super Magnetic Sales Copy That Converts – YouTube

Hey there whazzup, Tridib here and you are watching a brand new Vlog of Learnwithtridib.

I have been part of various Affiliate marketing hubs as well as I have seen many marketers struggling to get leads and conversion. Many of them have shiny object syndrome and get attracted to various new-age platforms, Funnel creating tools, various ways of getting quick leads, ‘converted local leads’ etc. And fall prey to constantly buying one after another product which they hardly use.

If you ask me, to be honest selling is not easy. If you feel you have a nicely done funnel, you have a good budget to spend on social and search and expect leads to pour in from day one, then my friend, you are living in a fools paradise. Selling needs persuasion, selling needs a lot of convincing, a lot of trusts (social proof), and some level of urgency. This can only be done with a proper copy but the challenge is that it is an art as well as a science to writing a persuasive copy that sells.

By now, you must have already guessed the topic of today’s video. Yes, it is an easy guide to learn to write persuasive copy that sells.
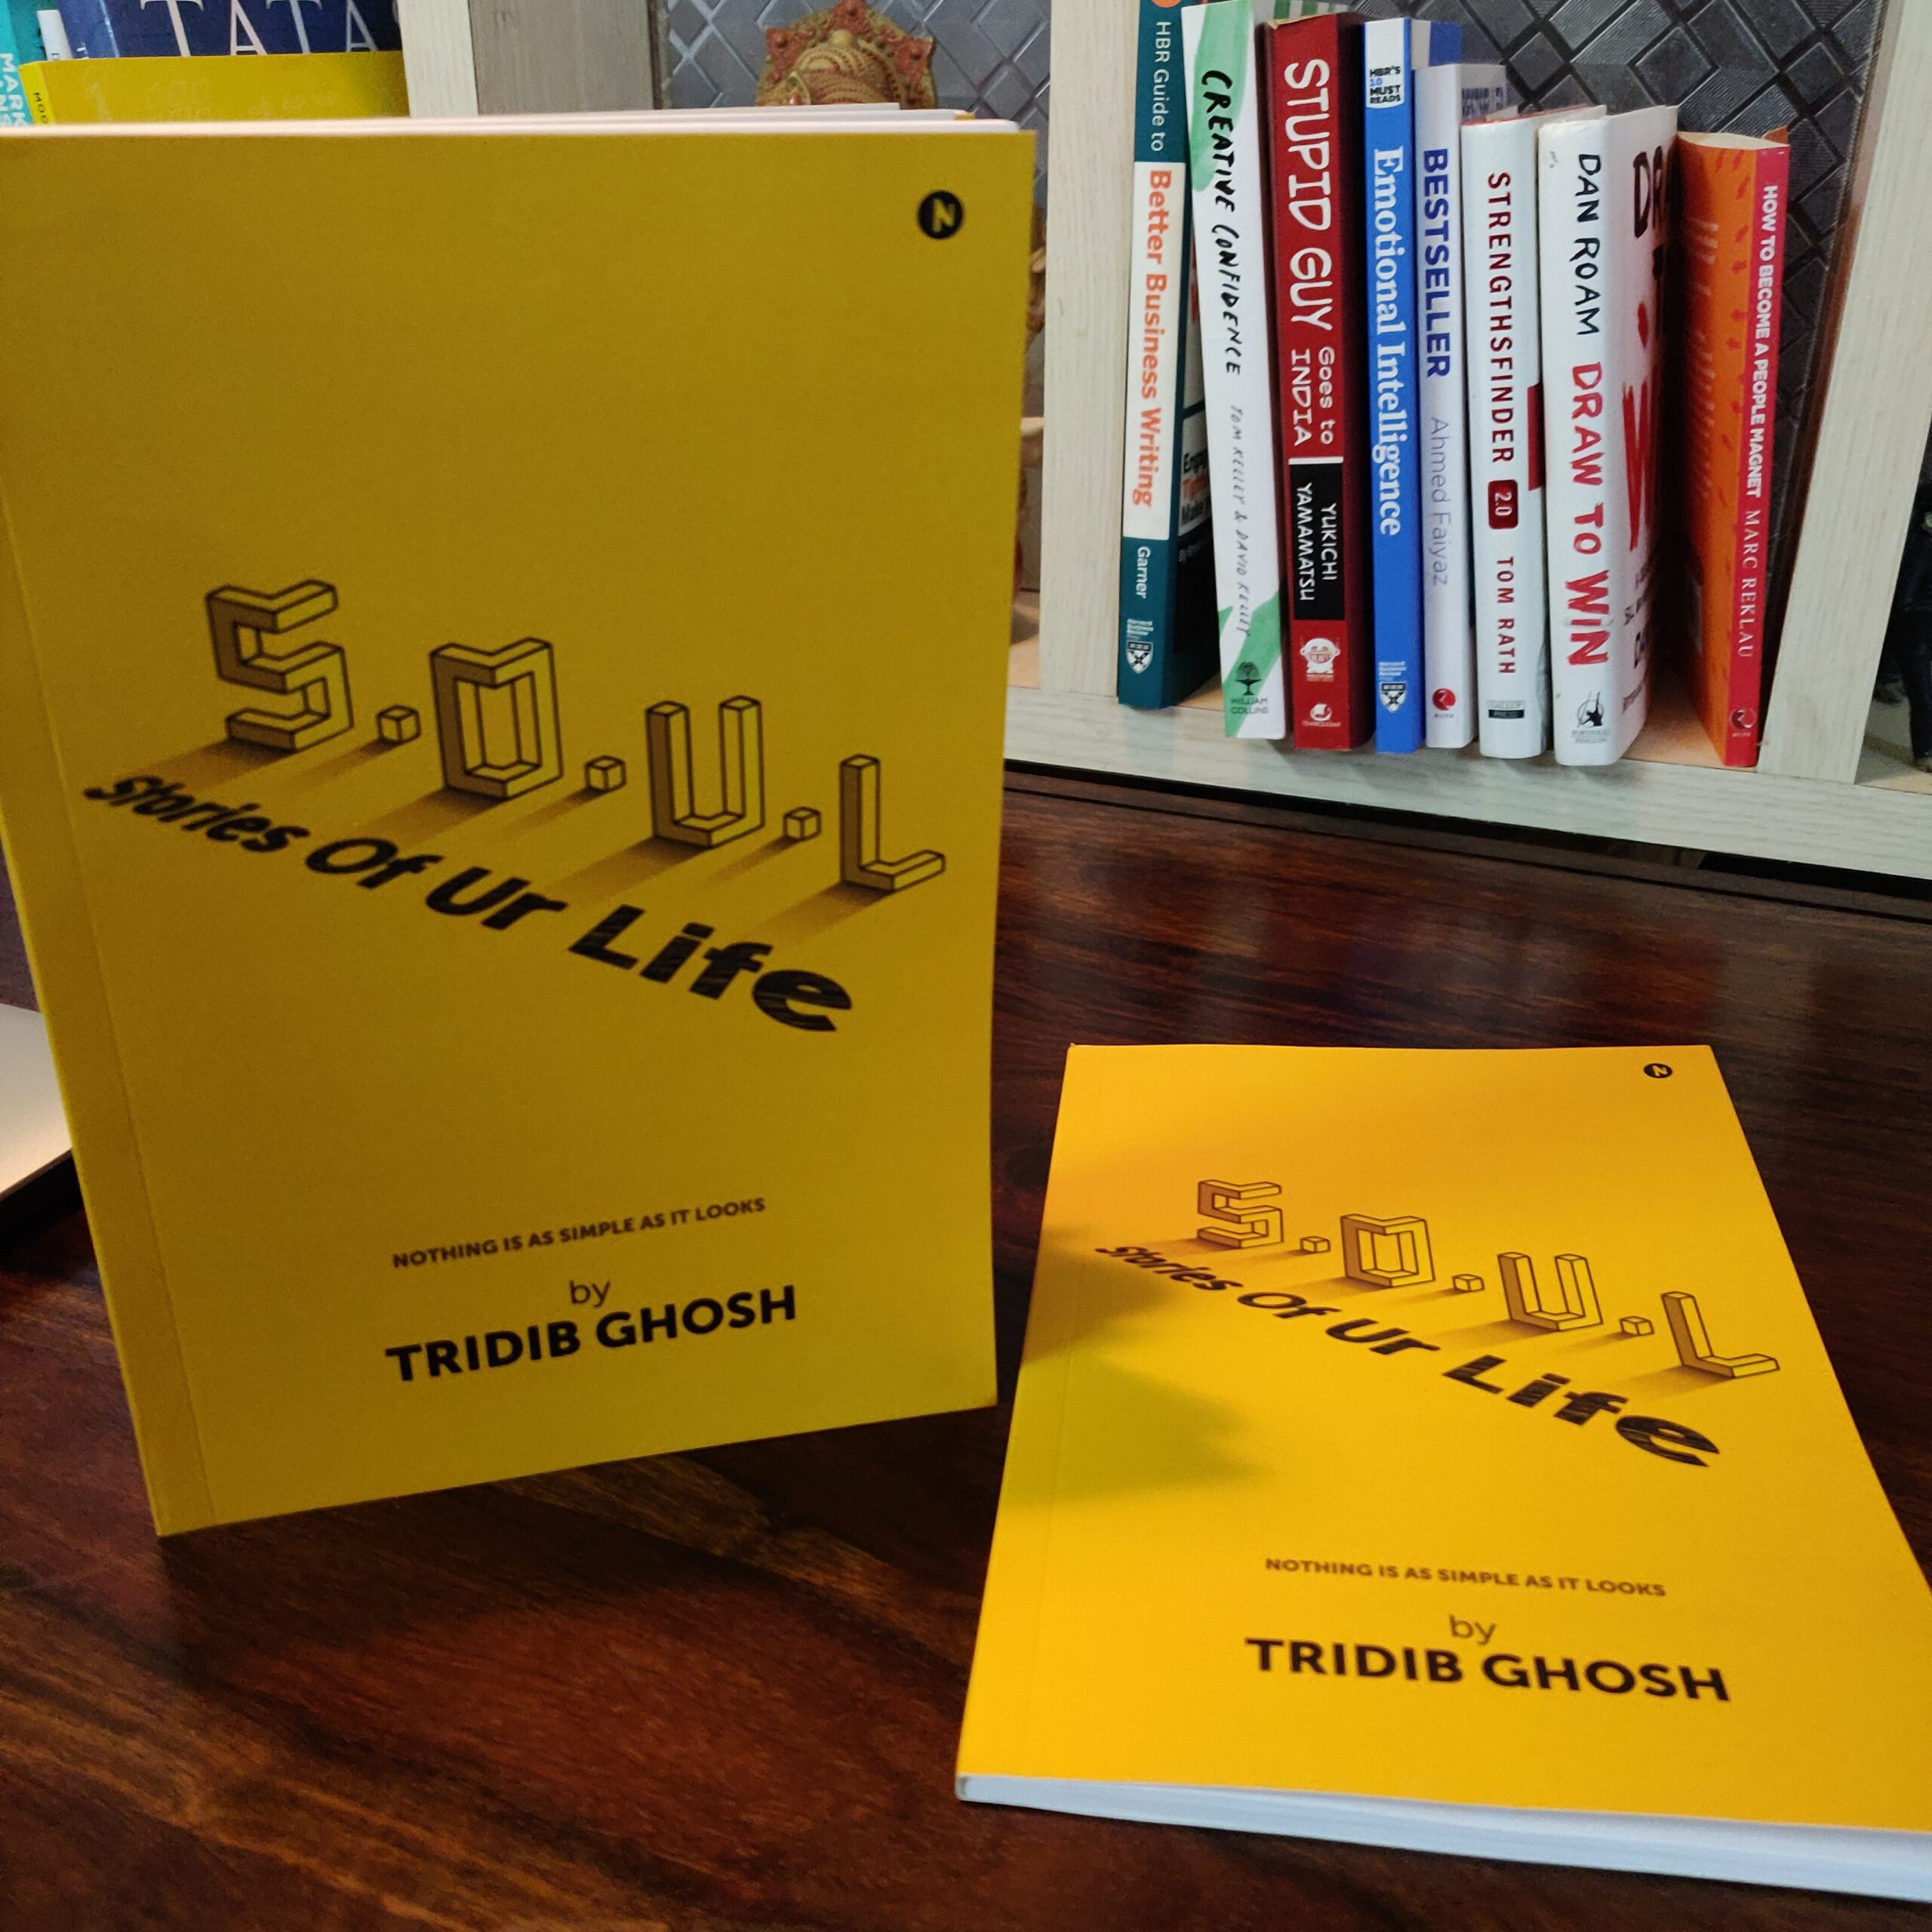
Well, my friends I will forewarn you that I am not a copywriter though my first fictional Novel S. O. U. L has become #1 best seller on Amazon. You can purchase my book from the link mentioned in the description. I am more of a storyteller than copywriter. But I am pretty good in writing Sales Copy that actually converts.
In this video I will take you through some rule of thumbs that will give you the initial push to deep dive and start writing copy that sells.

A clear Disclaimer before I jump into this subject. First of all, the processes that I will tell you is absolutely NOT mine as I have told I am NOT a copywriter, however, I have been greatly influenced by various stalwart copywriters who writes amazing Sales Copies and all my learnings are based on their teachings. There is no qualms in accepting that I have learnt everything by closely following their tips and their secrets. Today, I will open up their secrets in front of you, but at a basic level keeping in mind their sales should not get affected. You have to purchase their book and watch their videos for in depth knowledge.

S.O.U.L product shoot

S.O.U.L is available on Amazon.in, Flipkart & Kindle

Get it here:

I will teach you a mixed process (which is mine) taking the best points from various gurus and present you with a simplistic style that works.

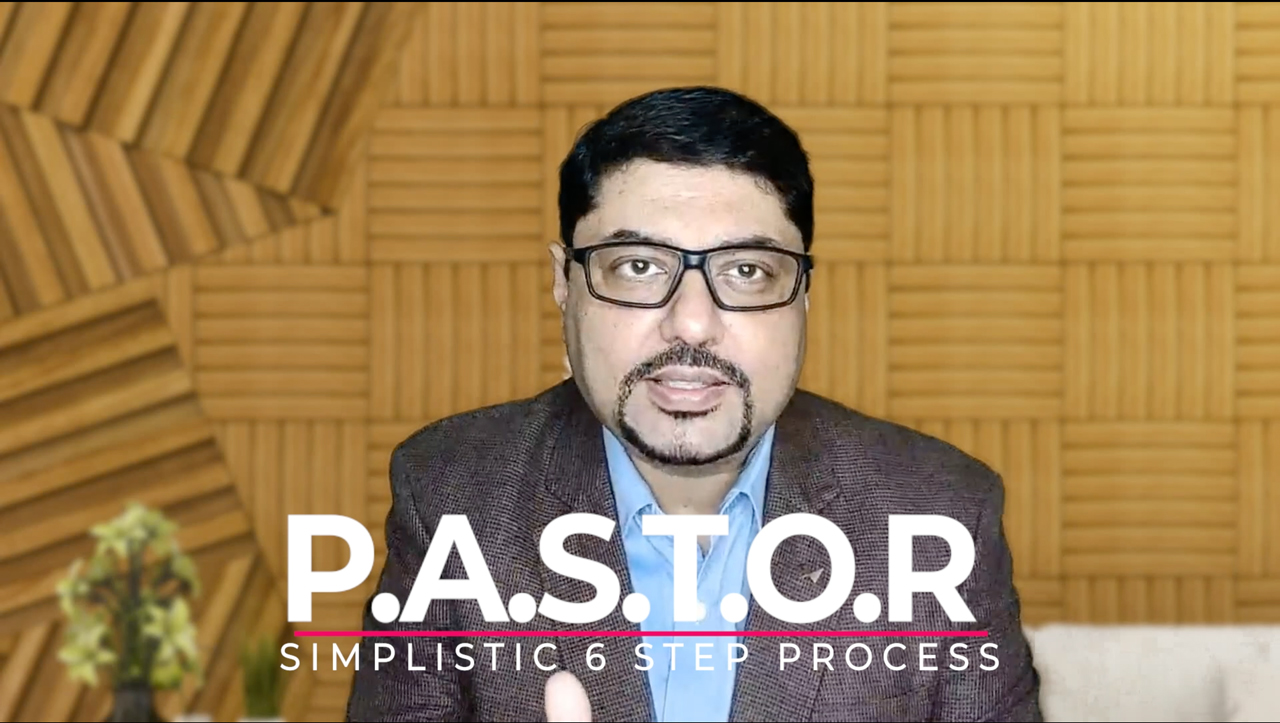
The simplistic 6 steps building blocks is called P. A. S. T. O. R built by my guru Ray Edwards author of the book that goes by the name How To Write Copy That Sells. It is a brilliant book. You can purchase the book from Amazon, the link is in the description below. Not only that with that book you get a lot of templates worth $197 absolutely FREE.

Okay, so let’s understand P. A. S. T. O. R.

PASTOR

Let’s start with the first letter. P stands for problems or pain points. What is or are the problems that you are going to solve for your potential buyers. Your Heading and Subheading should establish that very clearly. Say you are an artist and you want to sell your art to a potential Art buyer from your landing page or funnel. What will your copy say? It can be, Now get rid of your boring walls!
And then you define it. Like, Are you are bored staring at your plain Jane wall? Are you looking to bring happiness, balance, and brightness to your mundane life? you need to bring colors to your walls. (This is just an example. )
The next stage is A for Amplify. Here, you explain to the potential buyer what cost they will pay if they didn’t get this solved. Like if you ignore/delay it, it can get worse. Always remember it is extremely important to establish this step. As the old saying goes ‘people will do anything for those who encourage their dreams, justify their failures, allay their fears, confirm their suspicions, and help them throw rocks at their enemies.’ As Alex Cattoni (another favorite personality) says about the S hook of Story – Science, and Supposition. However, she explained that in the Indoctrination stage which comes even before the problem stage in her method. But for our process, I suggest bring this to the Amplify stage. Remember, in the Amplify stage you are just amplifying the consequences and NOT solving Problems. That, you will do in your next step.
S that stands for Story or Solution. Here you try to build up a story, how you achieved the benefits or people whom you know achieved the benefits. How their problems were addressed. Tell them how you found the answer or how your product or solution solved the problem.
Next comes T or testimony. It is like it worked for them, it will work for you. Let the users or patrons say their stories, how your product/ service solved their problems.
Now, once you have established the benefit, it is your turn to offer your products and services to them.
Step O. Remember, your offer are always the benefits and not the physical good or service. Many people make a mistake here. It is always what are your paintings benefits. And not that you will be providing them a Canvas of so and so size painted with Acrylic ink. Hope you understood the drift.
After O comes the last step R or Response. This is where the user takes the Call To action. Wherefrom they can buy the product or services or what they can do to acquire the product and services.

Please remember, there is no skipping any one of the steps. All have to be followed. And usually in that sequences.
I would like to mention two extremely important elements that act as catalysts in a buying process a) a social proof, You must have seen that in many e-commerce sites or sales funnel often a small ticker or popup floats up from the left bottom side of the page that shows that a person from your location just purchased the product or service. What this does is gives you comfort as a buyer that you are not alone purchasing this product, you are not the first person, there are similar people who are also purchasing the same product or service. b) urgency/scarcity: Where you create a pseudo situation of more demand than supply. A restriction like only 15 people allowed in class, only one product left, or only 2 tickets left. If done right it can work wonder without being like pushy.

Another thing that works great if you are trying an absolute niche product or service in the market and there is a need to establish a trust that the end-user has nothing to lose, you can try putting a risk reversal component in your sales letter or funnel page. Like a 30 days return guarantee. No question asked etc. That immediately brings trust in the mind of the buyer that you are so confident with your product.

Apart from the set 6 steps process always understand. Your copy should ooze confidence but never over-promise. That might backfire badly and hurt your product before it is launched, Let me give you an example. Suppose you go to a doctor A and he says to try these three pills and I think you will be ok. Or you go to a doctor who says I am giving you just 3 pills and you have to take these thrice a day and come back after a week, I am sure you will be fit by then. Which doctor you will choose? Or reply more? Obviously the B-one right? That’s persuasive copywriting. As John E . Kennedy said, Copywriting is simply salesmanship in print. (now in digital mode)

So, That’s all folks. If you have liked the video please like, share, and comment on the video. If you are new to this channel, please subscribe to the channel and hit the bell icon so that you can get notifications of all our upcoming updates. I would like to see great copies from all of you who want to sell their product or services through a landing page or sales funnel. Remember, Funnel or the page is just a facilitator. The main important part is a) The confidence YOU have in your product or services b) The persuasive copy that will force users to purchase your product immediately.

With that note, stay safe and goodbye till we meet again.

Share this:
Rapid Video Creation- Videos that Engage – inVideo

Rapid Video Creation- Videos that Engage – inVideo

Being a Youtuber and an influencer is so much fun. Isn’t it? You can feel the power as a creator. You get the adrenalin rush when you conceive a new product ( a video or a post) and dish it out to your followers and subscribers who wait eagerly for your latest uploads.

Well, once his uncle advised a teenager Peter Parker a.k.a our friendly neighborhood Spiderman that, “With Great Power Comes Great responsibility”. True to the words of the noble gentleman, an influencer has a huge responsibility for their followers. Hence, it becomes extremely important to roll out quality posts or videos every time. Else, you will find your subscribers dropping or you are losing your followers. But many times we have to rush with our productions right?

Let me share a small incident that happened a couple of days back. Well, I forgot to tell you that I have recently published my fiction, called S.O.U.L ( Stories Of Ur Life) which thanks to my stars became #1BestSelling novel on Amazon. Ok.ok. Let’s cut the carp. Sorry for bragging. Let’s get back to the story. I was supposed to get interviewed by a book-critic-guild and, I was already on my way to the studio. Mid-way I suddenly get a call from this book reviewer asking me for a promotional video to be sent to her within half an hour. That was a last-minute decision they took. And, I was clean bowled. Usually, I create all my videos, and edit with either Adobe After Effects or Adobe Premiere and believe me it is extensive editing. It requires huge resources like high processing speed, higher RAM capacity, and super-powered Graphics cards. And here, I am stuck in my car just with a Mac Book Pro, which luckily I was carrying in my car.

I opened my Mac and was staring blankly at the screen absolutely clueless what to do when it suddenly stuck to me that I have a Business License of inVideo App. And by God’s grace, that day, luck was with me. I started searching for some images of my novel inside some scattered folders on the laptop. I found some good images, and some I downloaded from my Facebook account. I powered on my inVideo App and logged in.

I frantically searched for “book promotion” templates and inVideo threw up a good number of templates. I was spoilt for choices. As time was running out, I quickly selected the best one which I felt at that time and started placing my images and texts. It exactly took 15 mins to create the video from start to finish. Yes, I am not exaggerating. And, once I am done, I gave to render. Usually, a video rendering takes a lot of time and I was a bit skeptical if a cloud renderer can render it fast and in HD quality. But then came the biggest surprise. The entire 60 sec HD video got cloud rendered in 5 mins flat.


No sooner I was trying to give a pat on my back and marveling this beauty of an app, I get a call from the same organizer that now they plan to share the same video on multiple platforms and various screen sizes. I started negotiating with them that this should have been told to me earlier and how come they are so un-prepared and taking last-minute calls. But, people in our industry know, how things happen in an ad-hoc manner.

Grumbling and cursing them in my mind, I even thought once to cancel the interview and return home, but before doing so, I wanted to give it a try. Suddenly, the light-bulb moment occurred to me. I remembered that inVideo gives the option to create the same video in multiple sizes. And without much ado, I started speed creating the same video in multiple sizes, and in almost no time I was able to create the video in multiple formats for all platforms and share them with the organizers.

Forget the relief I achieved, I was pleasantly smiling in myself seeing the awed faces of the organizing team. They were pleasantly flabbergasted, by my super-speed revert to their demand. Really that time inVideo saved the day. Since then on various occasions, inVideo saved me with Quick and Quality, Urgent video deliveries. At present, I am a super-user of inVideo and I congratulate myself every time for making the decision to subscribe inVideo.

For those who are in the Video-Marketing field must have heard about this online App, for others, inVideo looks like any other online template-driven Video creation App, that can help anyone create videos easily. However, in the core it has an AI-driven mechanism that helps you chose the best template for your project, it auto-corrects flaws in the video, suggest the best audio and text templates for the video and hold your breath, the AI is so strong that it can even suggest a video template for your Blogs.

Surprised? You must try out the FREE online version if you don’t believe my words, and if you are convinced, you can try out the Business or Unlimited plan as low as 10$/month.

You can try out or purchase inVideo from here


.

Share this:
Change Your Office for just $14 (as low as 1000 INR)

Change Your Office for just $14 (as low as 1000 INR)

Let us be absolutely clear that this Lockdown, Semi-lock down, or No lockdown ( for specific days) situation is going to stay. We have to live with it.

The scare of Pandemic and business hitting all-time low has made people move out from their rented offices or shared spaces in a huff. The shared spaces or rented office spaces had no other options but to either close business or take excessive precaution albeit with an exorbitant rise in rent charges.

And then came the decisions of various governments not to push employees to work in the office premises but groom them to a new working style i.e. Working from home. I won’t say the extremely cliche term work from home has become the new normal, but whether I want it or not, Work From Home is here to stay. Whether we like it or not, the Office has entered our bedroom. However, home is home. It has its own aura and own setting. Hence it has become a major issue in various cases that people do not want to turn on their Video just because they do not want to show their home background.

Hence, most of the Zoom, Microsoft team of Google meetings seems like talking to the wall, where we cannot see the face of the opposite person.

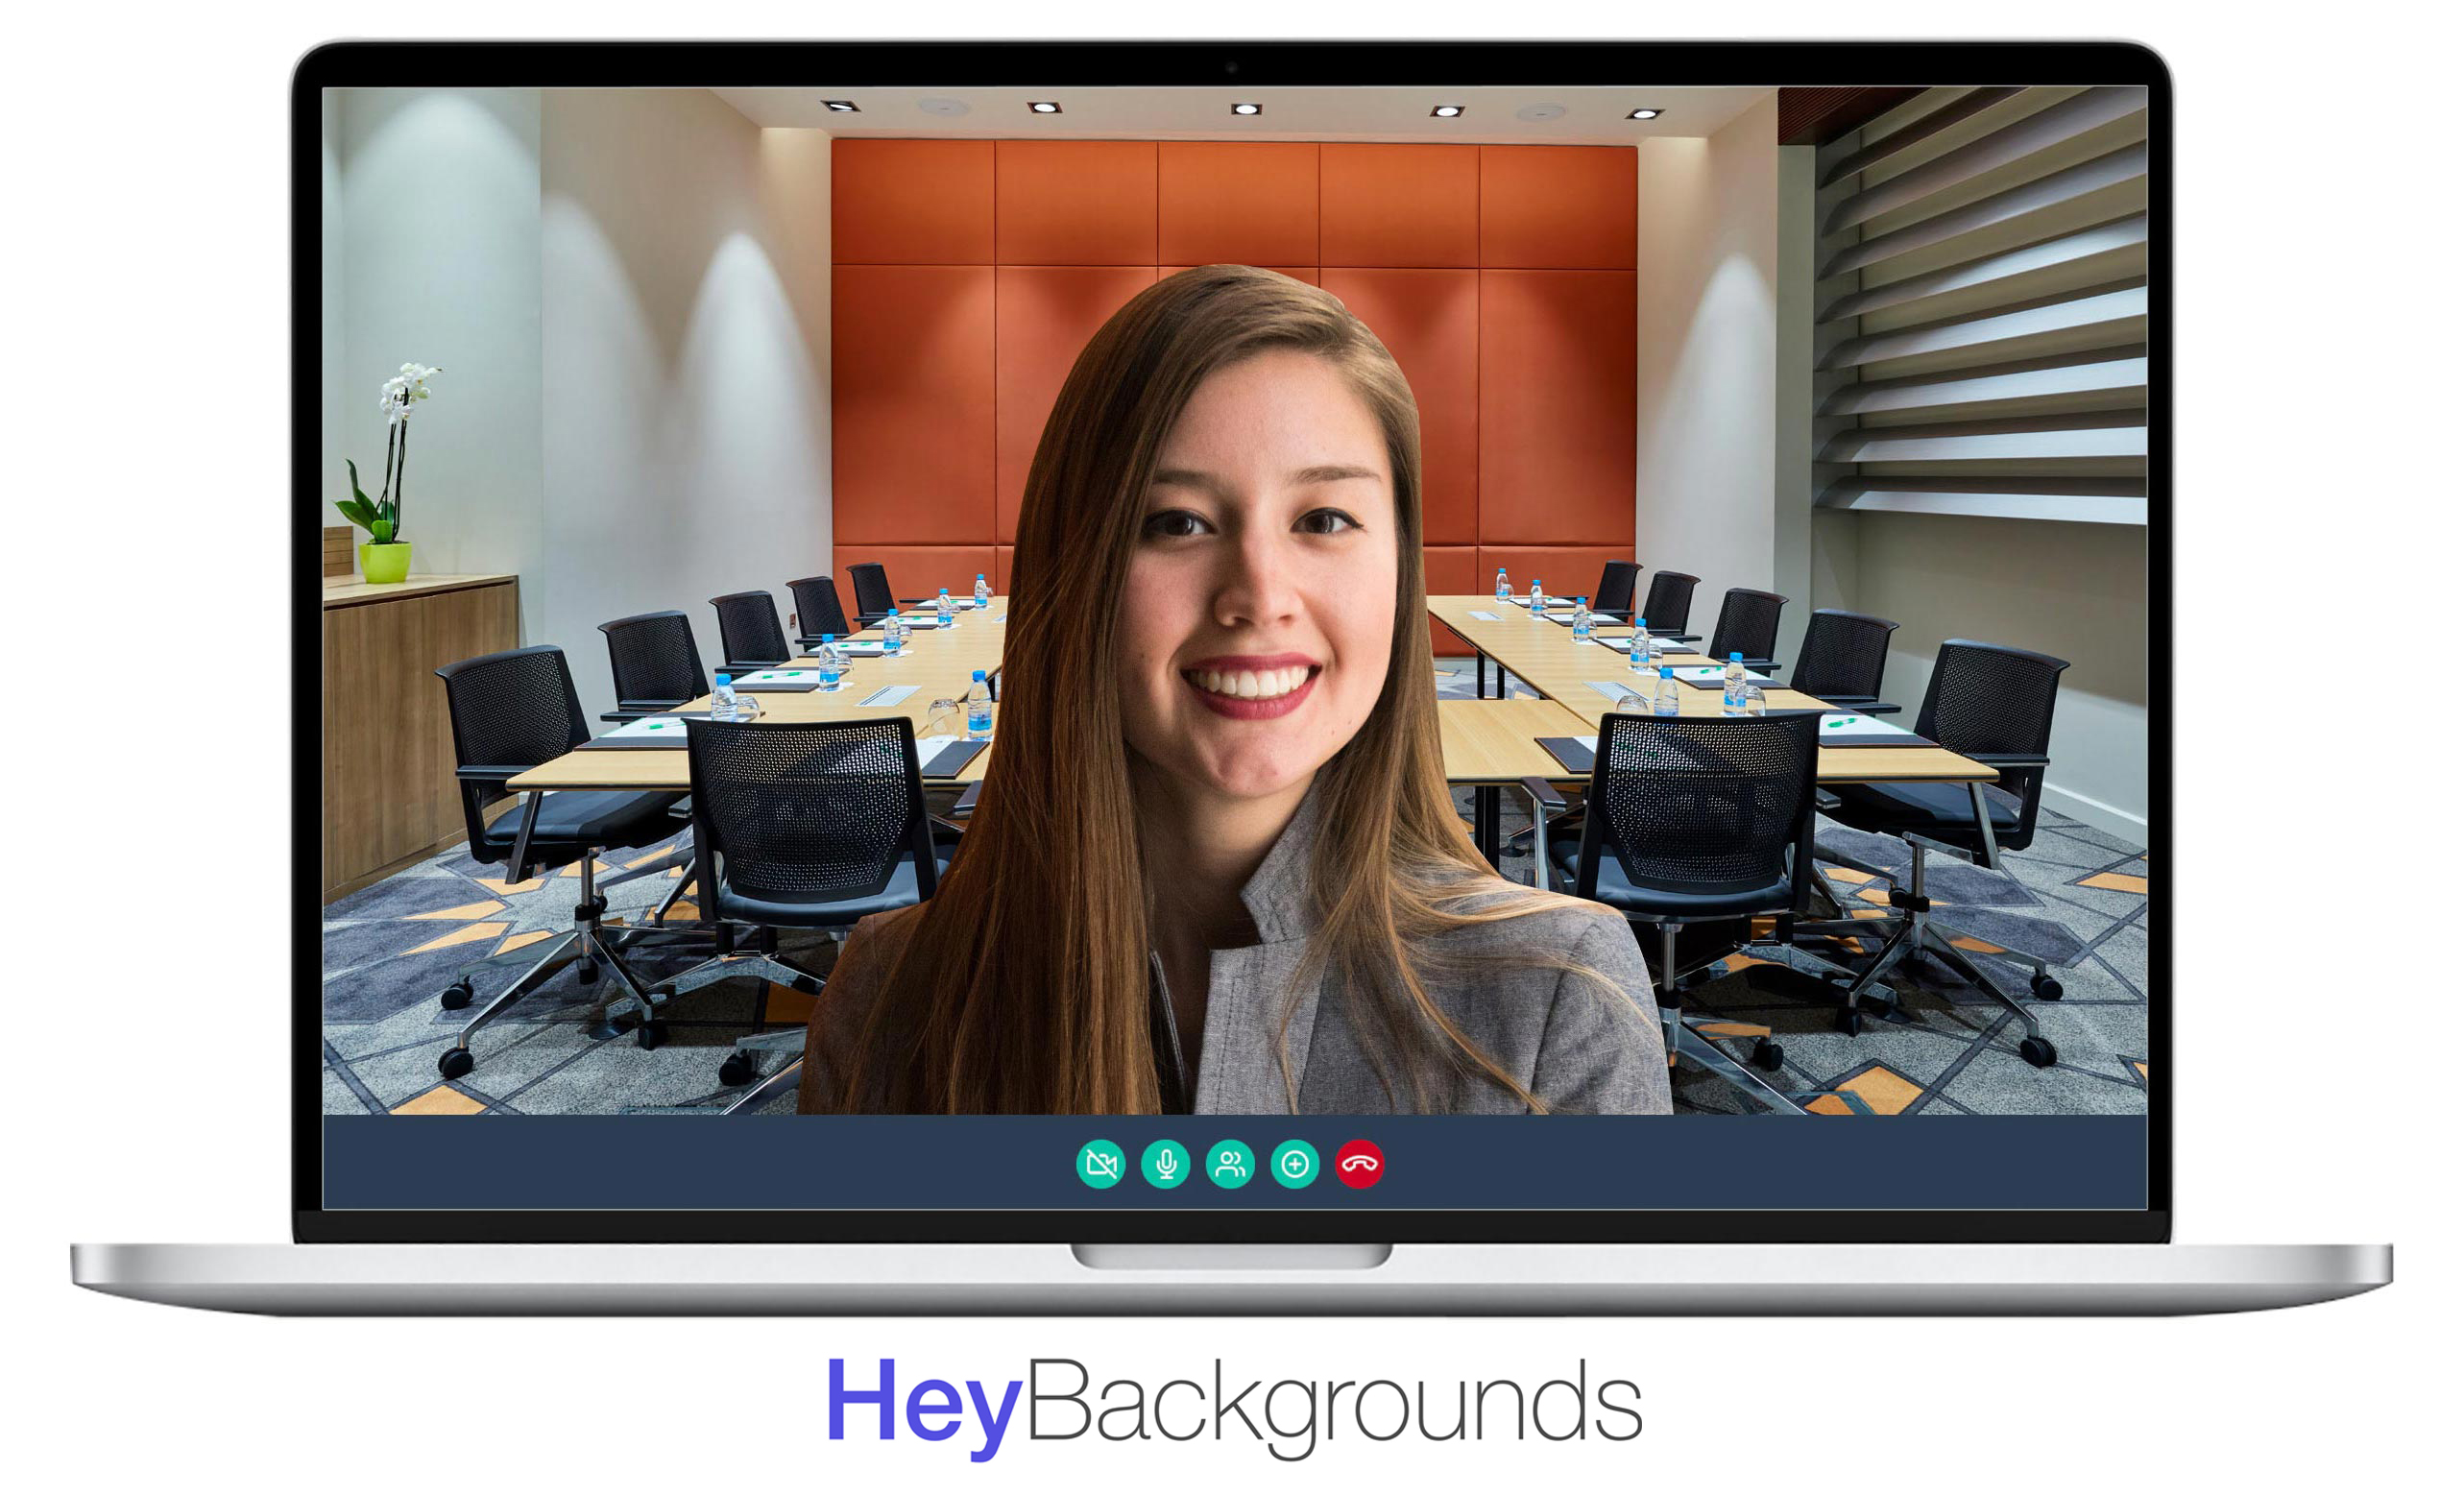
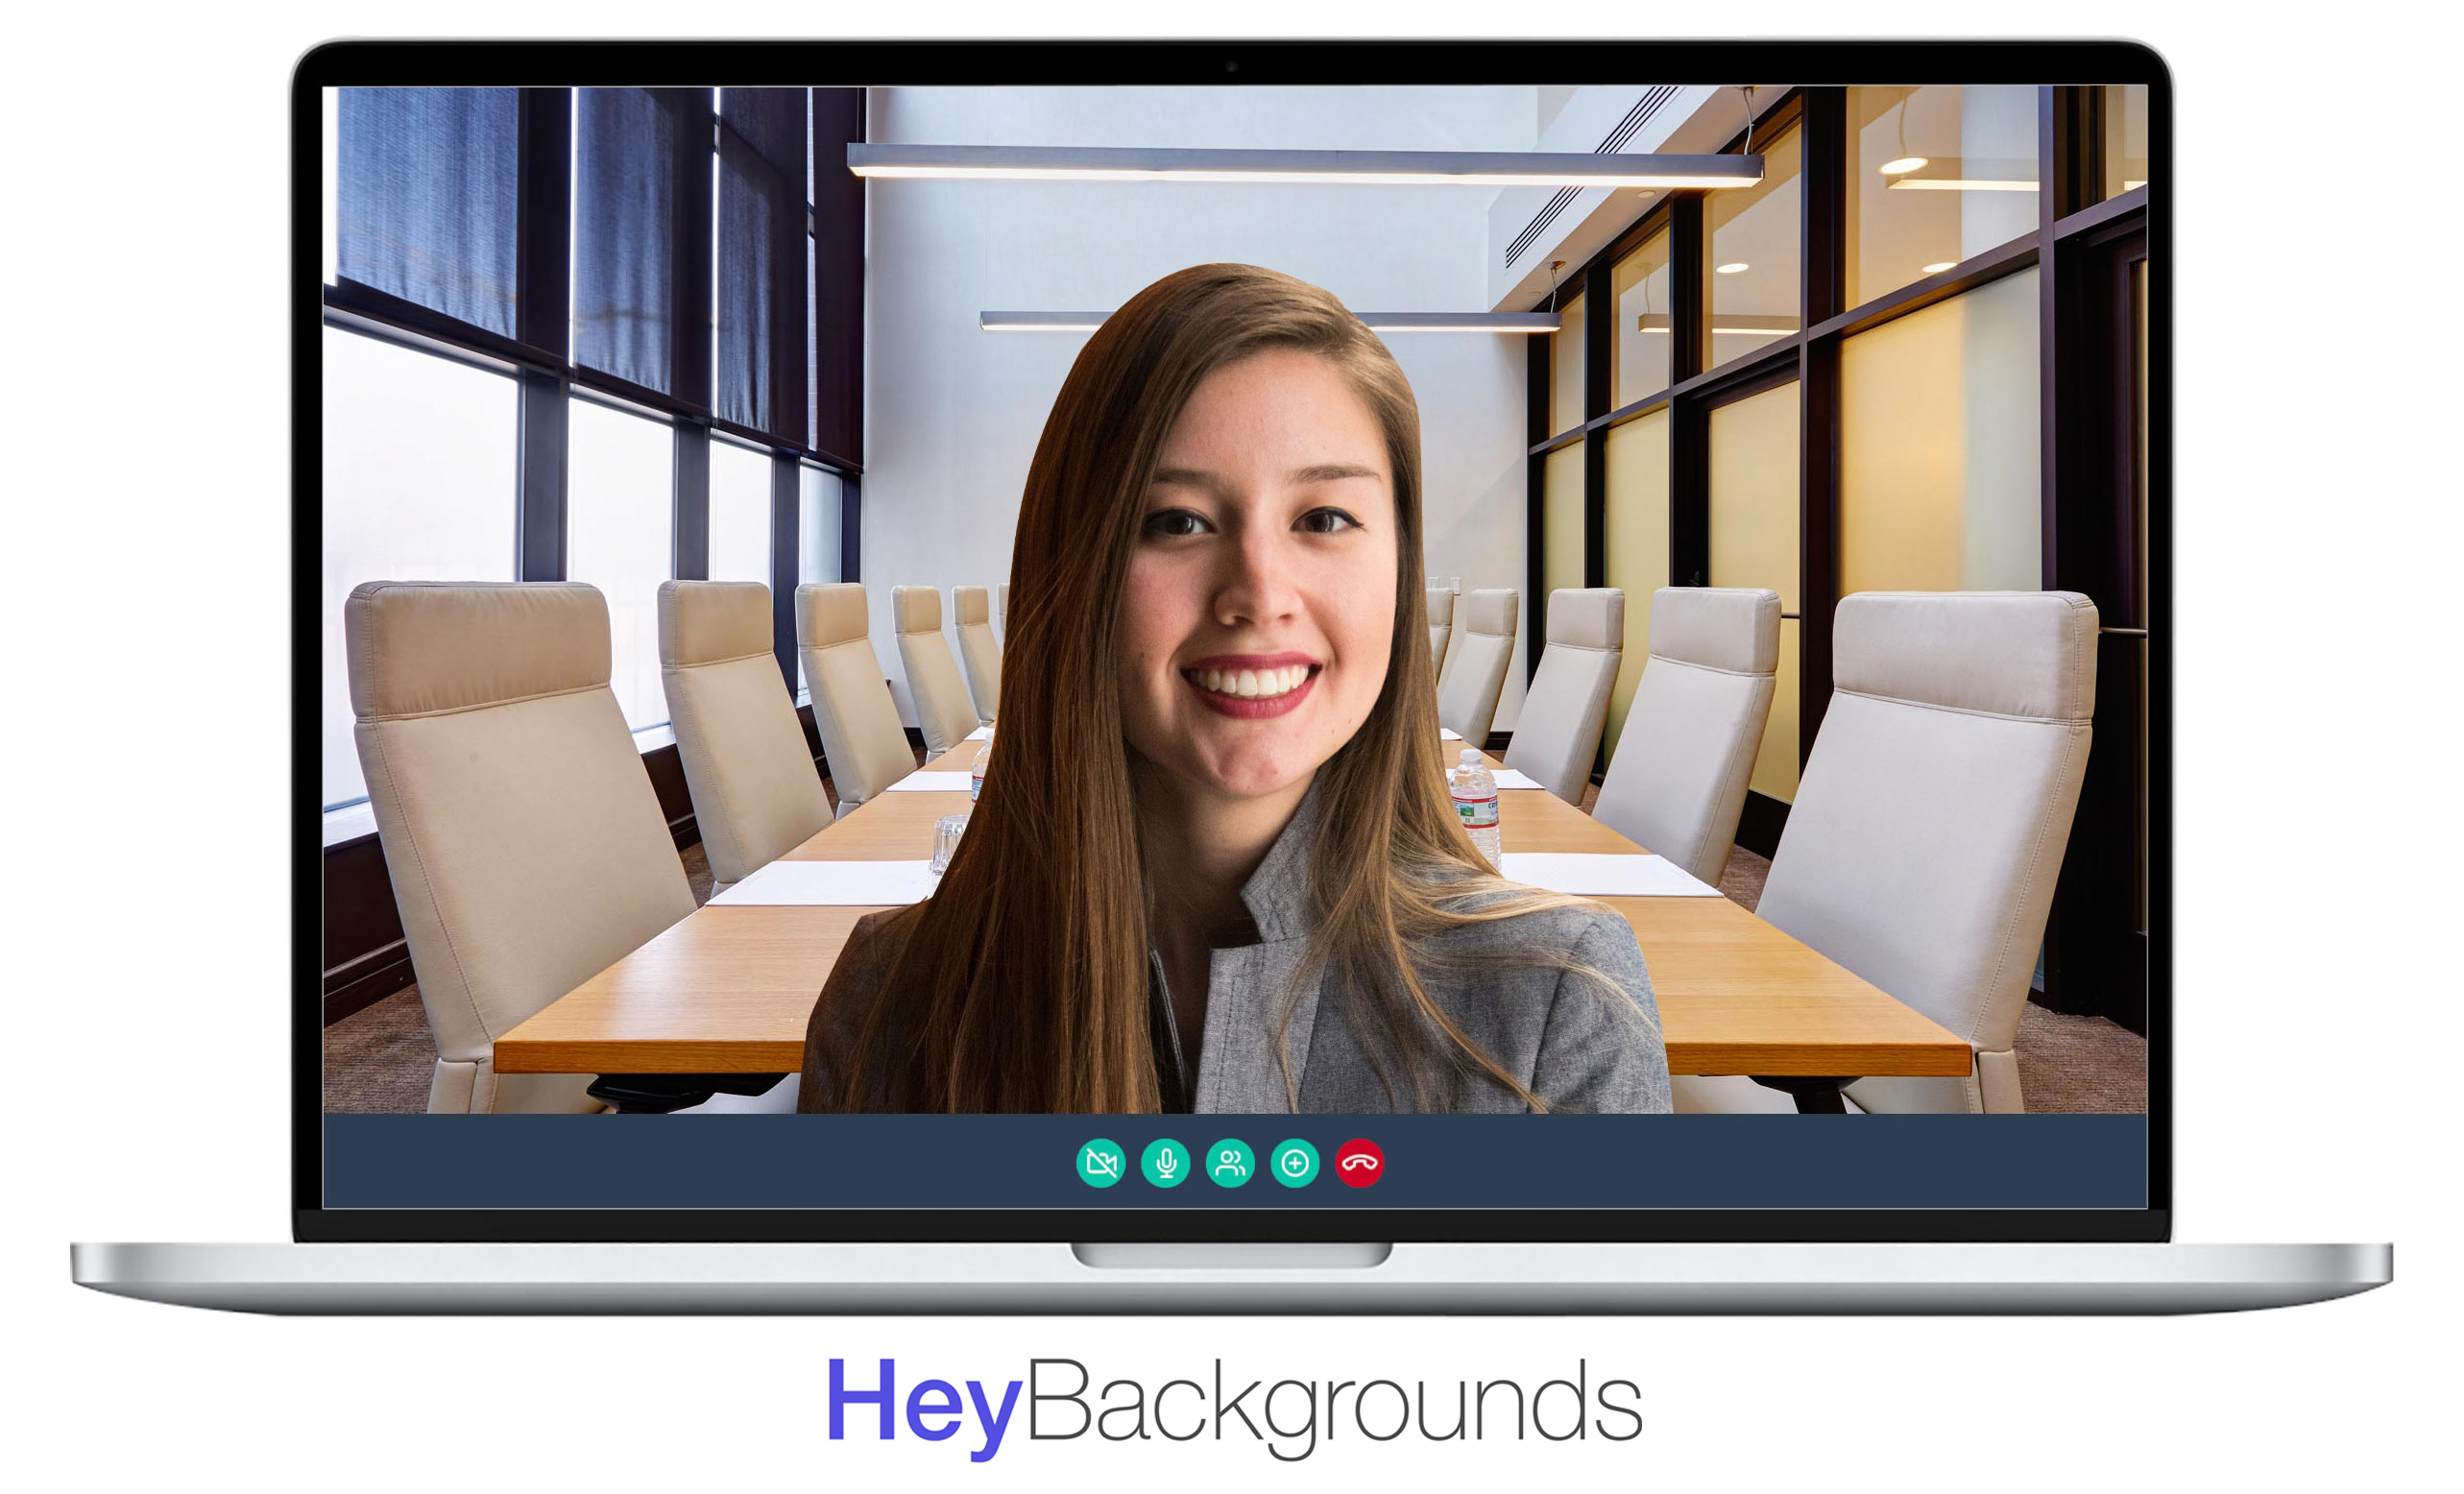
Well, as we always agree that necessity is the mother of all creation and challenges only brings out business opportunities. Think over a possibility when you can change your working environment, well every day, or maybe every minute? Sounds just impossible right? If I now say that it cost as low as only $14? Well, you might think the pandemic has taken over me.

Not at all. heybackgrounds.goaffpro.com
has come up with a unique solution that literally made me sit up and take notice. I couldn’t resist but had to write this blog.

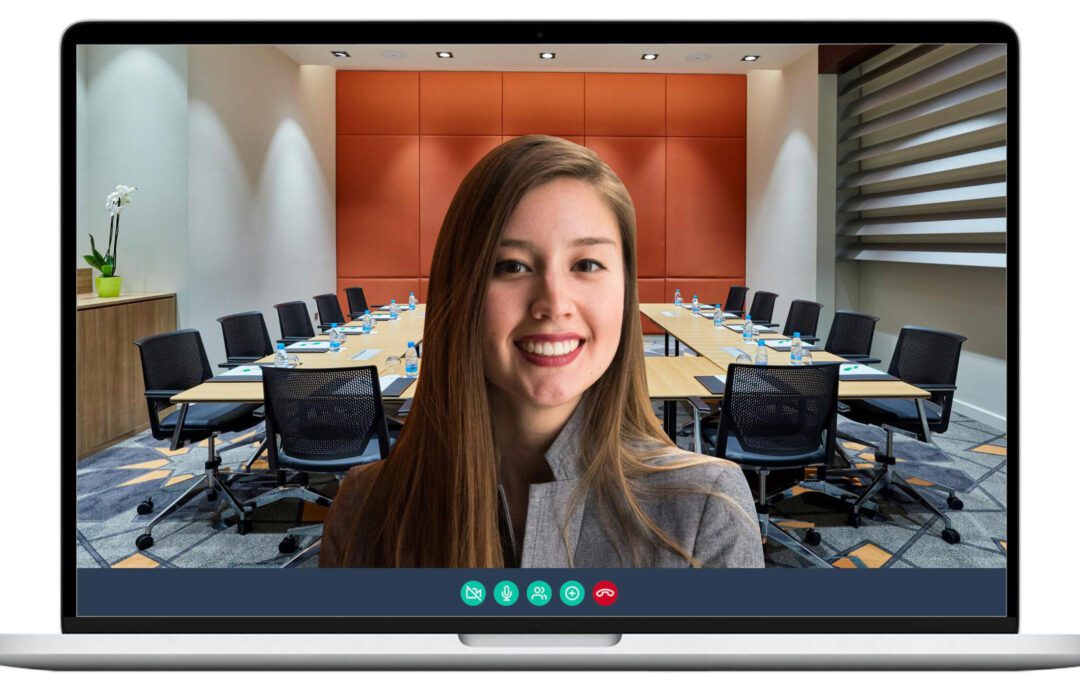
Heybackgound has started with an awesome solution of presenting you with a collection of unique backgrounds for all your Zoom Calls, Microsoft Team Calls, or Google Meetings. And it just comes at a ONE TIME price of INR 1000 ( $14) plus taxes.

5 steps of design thinking

Sounds exciting right? I have always felt any product or services, however, small it might be if it solves people’s problems, it is the best product. You take money from me. 

I think organizations can also try and share these backgrounds to their employees so that they can use them while on call. 

So, no more hesitation to turn on the video or not. Use these wonderful backgrounds and take your calls from anywhere in the world. Literally.

Kill on sight, Kill on Sight, Kill on Sight

Looking for a professional background for your Conference calls? Worry not.

Get it here:  

heybackgrounds_collection
Share this: